A developer brochure or attractive rendering cannot tell you whether a wardrobe fits around a column, whether a drain can reach the shaft, or whether a false ceiling will clash with a beam. Start with verified site information, review the drawings in a fixed order, and approve only a coordinated set that contractors can build from.
Key takeaways
- Measure walls, columns, ducts, shafts and ledges before finalising furniture layouts.
- Use one coordinated drawing set for carpentry, electrical, plumbing, lighting and civil work.
- Test door swings, walking clearances and appliance dimensions on 2D plans.
- Approve 3D views only after the corresponding plans and service drawings agree.
Start with a Measured Site Survey, Not the Brochure Plan
Before preparing interior design plans in Mumbai, verify the apartment on site against the developer’s brochure plan and the sanctioned or as-built drawing. Saleable or agreement area is not usable planning area: columns, ducts, service shafts, plumbing ledges and uneven wall finishes consume space. Record every discrepancy before ordering furniture or appliances.
- Measure each room’s clear length and width, wall thickness, slab-to-slab height, beam positions, slab drops, column sizes and finished floor levels.
- Mark every opening and fixed element: door and window widths, door swings, sill levels, window projections, plumbing shafts, bathroom ledges and kitchen service points.
- Locate existing electrical points, distribution boards, plumbing connections, exhaust outlets and air-conditioning equipment, including indoor-unit clearances and outdoor-unit routes.
- Photograph concealed-risk areas, note walls that cannot be chased, and compare the survey with the sanctioned or as-built plan. Ask the designer to issue a measured existing-condition plan with dated dimensions.
Tie dimensions to fixed references such as finished wall faces, structural grids or column faces. Do not dimension a wardrobe only from movable furniture or unrelated walls; small errors accumulate until the kitchen, storage or bathroom fixtures no longer fit.
A brochure can indicate an intended layout, not the conditions your contractor will build against. Approve the measured plan and resolve each discrepancy before developing layouts, elevations or quotations.
Build a Drawing Set That Every Trade Can Use
Obtain a coordinated package of 2D interior design drawings before materials are ordered or trades are briefed. Base interior design plans in Mumbai on the measured existing-condition plan and sanctioned or as-built plan, not the saleable area or brochure layout.
| Drawing | Used for |
|---|---|
| Measured existing-condition plan | Records walls, columns, beams, shafts, levels, points and ceiling height |
| Furniture layout | Sets furniture sizes, clearances and circulation |
| Demolition plan | Shows items to remove without damaging retained services |
| Partition plan | Locates new walls, doors and openings |
| Flooring plan | Sets finishes, patterns, direction, thresholds and level changes |
| Reflected ceiling plan | Locates ceilings, drops, lights, fans, access panels and AC grilles |
| Electrical layout | Positions outlets and dedicated circuits for appliances and equipment |
| Lighting-switching layout | Connects fittings to switches, dimmers and control zones |
| Air-conditioning layout | Coordinates indoor units, piping, drains, grilles and service access |
| Plumbing or sanitary layout | Fixes fixtures, supply lines, waste lines and floor traps |
| Kitchen elevations and details | Shows cabinets, appliances, chimney, counter heights and clearances |
| Joinery and wall elevations | Gives cabinet dimensions, panels, niches, finishes and fixing points |
| Material schedule | Names each finish, code, quantity and location |
| Door-window schedule | Records sizes, shutters, hardware, sill levels and opening direction |
Ask for annotations showing socket heights, appliance loads, beam positions, slab drops and circulation widths. The electrical contractor must confirm circuit sizing, earthing and protection; the society must confirm work hours, lift use, debris movement and approval requirements. A 3D drawing shows appearance, not construction instructions.
Review 2D Plans by Testing Movement, Fit and Services
A furniture plan alone is not construction-ready. Approve 2D interior design drawings only after they survive this practical check:
1. Compare the proposed plan with the measured existing-condition plan. Mark columns, ducts, plumbing shafts, beams, wall thicknesses, uneven finishes and ceiling drops. Record every mismatch before ordering furniture or appliances.
2. Trace daily movement through the home. Draw the path from the entrance to the kitchen, bedrooms and bathrooms, then check door swings, passage widths, dining-chair pull-out space and clearance around beds. A sofa that fits on paper can still block a passage when occupied.
3. Test furniture and joinery against fixed references. Use finished wall faces, column edges or structural grids for dimensions, not movable furniture or unrelated walls. Check wardrobe depth, kitchen work triangles, refrigerator-door opening, washing-machine access and bathroom fixture spacing.
4. Overlay electrical, lighting, plumbing and ceiling information. Confirm that sockets match appliance locations, switches remain reachable, light fittings avoid beams and cabinet doors, and plumbing points align with the kitchen and bathroom elevations.
5. Review elevations and sections for height conflicts. Check sill levels, socket heights, lofts, false ceilings, curtain tracks, exhaust routes and access panels.
6. Mark each unresolved clash directly on the drawing and obtain a revised coordinated set. Use 3D interior design drawings to judge proportions and sightlines, not to replace dimensions, service routes or fixing details.
Use 3D Views to Judge Appearance After the Plans Agree
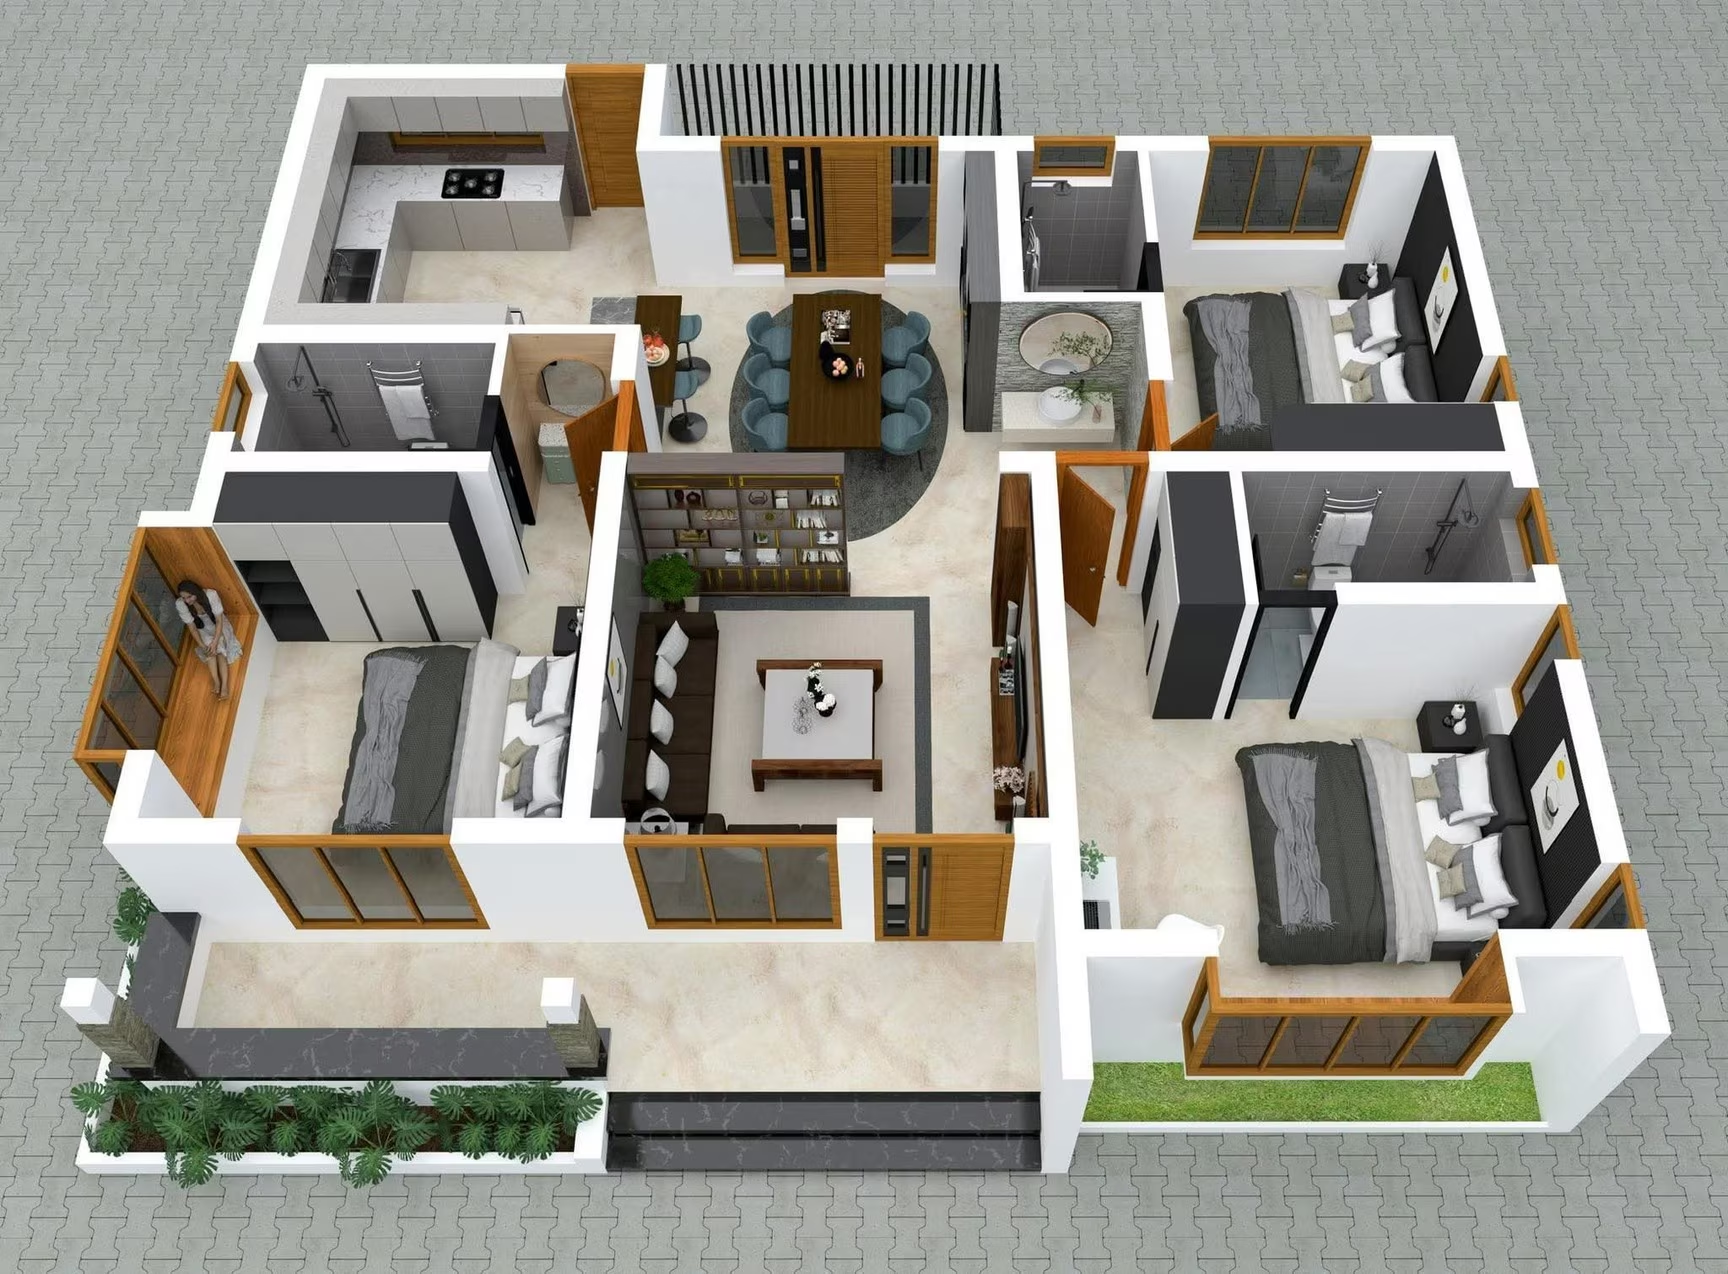
Approve a rendered view only after its matching 2D plan and elevations agree. 3D interior design drawings reveal the visual result, not the construction method.
They help you judge:
- Whether furniture, cabinetry and ceiling features look proportionate
- How colours and finishes work together across the room
- Whether key sightlines from the entrance, sofa or bed feel balanced
- How the proposed lighting changes the mood and emphasis
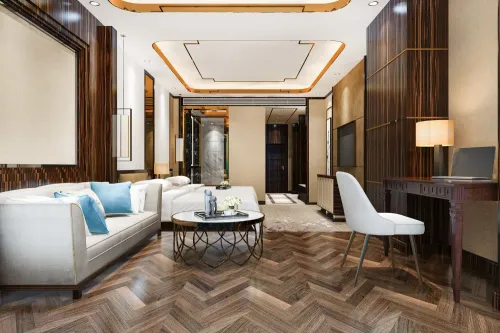
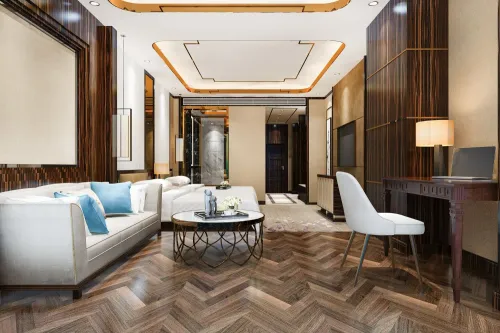
Interior design visualization can make a room look larger or brighter than it will be. A wide-angle camera, bright render settings and an uncluttered scene remove the visual obstacles you will face after installation.
Treat the image as a design preview, then verify the proposal against:
- Dimensioned plans and elevations for wall lengths, wardrobe depths, ceiling levels and window treatments
- A material schedule, sample board and physical samples for colour, texture and reflectivity
- The reflected ceiling plan and lighting layout for fixture positions, beam conflicts and actual illumination
A 3D view does not prove service routes, fixing methods, construction tolerances, access-panel locations or finish junctions. If the image conflicts with a dimensioned drawing, stop approval and resolve the discrepancy; the coordinated working drawings, not the attractive render, must control quotations, procurement and site work.
Approve a Coordinated Set Before Quotations and Site Work
Treat interior design drawings before starting a project in Mumbai as the control document for every purchase and site decision. Do not approve a quotation from a mood board or an attractive render alone; approve a dated, revision-numbered set that matches the measured site.
1. Check the measured existing-condition plan against the sanctioned or as-built plan. Confirm wall lengths, columns, beams, slab drops, ceiling heights, sill levels, shafts, door swings, appliance clearances and circulation widths.
2. Cross-check the furniture, demolition, partition, flooring, reflected ceiling, electrical, lighting-switching, air-conditioning and plumbing layouts. Every socket, light, drain, access panel and joinery item must have a location that agrees across drawings.
3. Review kitchen elevations, joinery details, wall elevations, door-window schedules and the material schedule together. Match laminate codes, stone thicknesses, tile sizes, hardware, paint systems and edge details to the quotation line by line.
4. Compare 3D interior design drawings and interior design visualization with the dimensioned elevations and physical samples. A wide-angle render can make a narrow passage look generous, while lighting can hide dark finishes and awkward sightlines.
5. Confirm Mumbai building or society rules before ordering. Record permitted working hours, lift-booking and debris procedures, deposits, common-area protection, plumbing restrictions and any approval for window or façade changes.
6. Add moisture details to the approved set: wet-area upstands, sealed junctions, bathroom and kitchen ventilation, waterproofing interfaces, and protection near windows or air-conditioning condensate lines.
Expressions Inside Interior can use this coordinated review to align design, procurement and execution, but you should sign only one final revision and attach it to the quotation. Then release materials and site work against that record.
Related product
 | DESIGNING 2D / 3D WD ALL DESIGNING 2D / 3D WD ALL Expression inside interior designing refers to how ideas, mood, and function are communicated through space planning and visual elements using 2D,... |
Frequently asked questions
Why is a measured site survey necessary before using interior design plans in Mumbai?
A site survey confirms actual walls, columns, ducts, shafts, plumbing ledges, wall finishes and level differences that brochure or sanctioned drawings may not show.
What should a complete set of 2D interior design drawings include?
The set should coordinate furniture, partitions, carpentry, electrical points, lighting, plumbing, ceilings, flooring, elevations and key dimensions so every trade can work from the same information.
How do you review 2D interior design drawings before construction?
Check movement paths, door swings, furniture and appliance fit, storage access, service clearances and the location of electrical and plumbing points.
When should you use 3D interior design drawings?
Review 3D views after the 2D plans are coordinated, then use them to judge proportions, materials, colours, lighting effects and the appearance of key rooms.
Why approve a coordinated drawing set before requesting quotations?
A coordinated set defines the scope, reduces assumptions between trades and helps quotations reflect the same furniture, finishes, services and construction details.